jeudi 25 janvier 2018

Something different...again


 It was time to finish this little tractor! Like the water crane, it gathered dust for some time on my shelves unfinished. I began modified and wheathered it in 2015, and due to many good reasons, work on it halted. This is one of the week jobs and I nearly finish it. Maybe some more dusting on the wheels, a chain or rope on the back, some touch up paint on scratches, but not much more...
It's one of the Case DC/DCS issued in 2006 by SpecCast and it's easily the most detailled vintage tractor available in 1/64 th (there's a wealth of stunning modern die cast models but only toys for old tractors). Here, despite some details, we have a real model, not a toy and it's easy to find some on the web. The real ones were produced from 1939 to 1953 so they fit in my time frame well (some other brothers wait to load one of my flat car). The major change I did on it was to remove the horrible cast steering wheel and installed an etched one from Tractorfab.  I removed some levers and made new ones with needles, I've thinned the exhaust upper valve and added a starter crank and that's pretty all I've done in term of modifications to this little beast. After a coat of matt varnish, I wheathered it with some AK Interactive products (dust, grime). The rubber wheels were only sanded to obtain this effect. Last but not the least, an oil painted driver was added. I'am not completely satisfied with him as I've not painted a figure with oil paints for nearly seventeen years and it shows! I need to re-practice but there some much to do, I'll see...
See ya'.


mardi 23 janvier 2018

Something different...


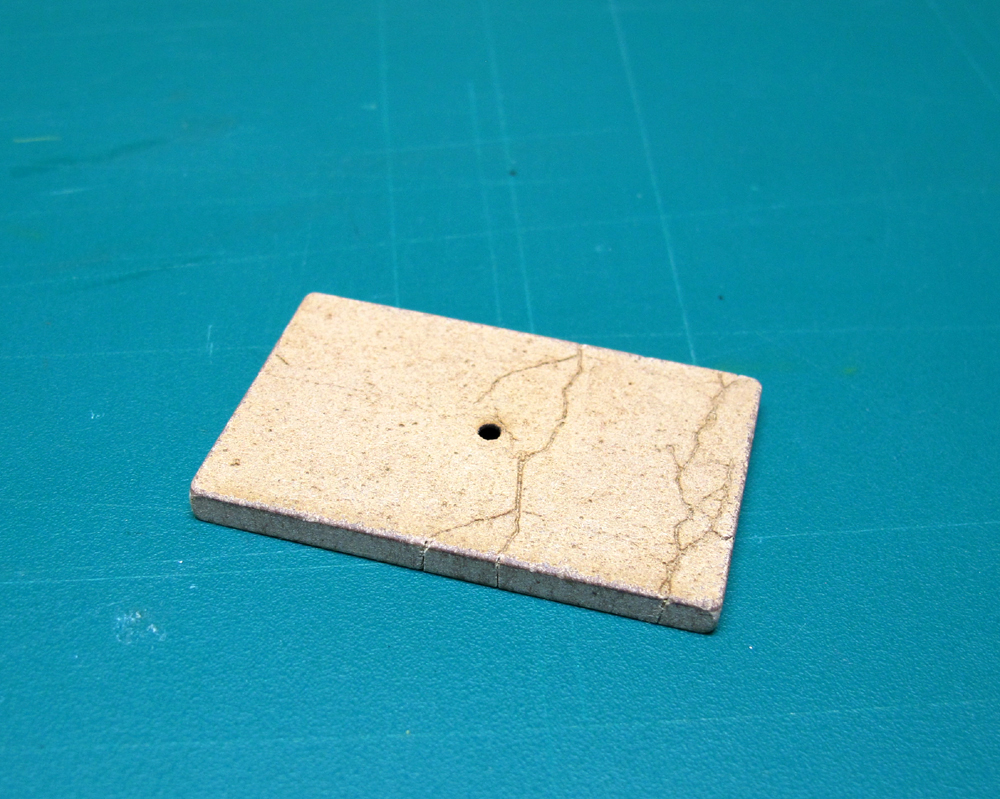
In the flow of cars, it's time for a break and something different. I've took some time this past week-end to finish the concrete pad for my River Raisin Poage water crane. The crane was repainted and wheatered in 2016. Before she was dismantled from the support plate, I know that I need a concrete one to fit. That's what I did. The concrete pad is a 3 mm MDF sheet with Monster Modelworks Cocnrete glued on it. The edge were slightly rounded and the whole was primed with Citadel Corax White primer (a really good primer used by wargamer). Then two thin coats of warm gray acrylic, a followed by a wash of turpentine with a hint of black and raw umber, when dry, a dry brush with undiluted warm gray and Naple yellow, and the basic wheathering was done. The crane was assembled with the pad and the crane base was wheathered with some rust wash. Add some greenish tone here and there for the moss and it was finish.
But why a Water Crane? Did a little terminal ever had such a water crane? Such a detail scream "steam" to me and I'll have steam on my layout. But in the late 40's and early 50's the closest watering point on the district was in Perris. Some photos were made there, and what a marvelous atmosphere that I want to duplicate on my layout. I really want this kind of detail for long. I've bought this crane from BTS back in 1998 during a visit to Florida and she stayed most of the time in her box. Fortunately, all was not lost because a water crane existed in San Jacinto. A track chart from the late 1910's showed one with inspection pit and a carbody next to the track. OK, it's modelling licence for my era but I really need one on my layout! So...
See ya'


The "concrete pad" before painting. The laser engraving from photos of the Monster Modelworks part is incredible.


The first wheathering step


The final wheathering is done. The photo does not shows that the whole is more on the warm side.

dimanche 21 janvier 2018

Building a fleet-Part 4-The end

After a gap due to job assignement, the wheathering process on the Milwaukee 40 footer resumed. It received a wash of Polly Scale Railroad Tie Brown and Engine black diluted with an alcohol window washing product very much like Windex. On the roof Polly Scale Wheathered black was added to the mix to obtain this greyish hue I like (and I've seen on so many 40's and 50's freight cars photos). I don't have invented this technique. I'am really indebted to Jim Six who popularized it on his former blog (on MRH). I've just adapted it to my needs and products availabality on this side of the pond.
Trucks were repainted in Polly Scale Milwaukee Road maroon and then wheathered with AK Interactive products like Light Dust deposit (AK 4082). I've lightly added some of this wash on the lower side sills and on the lower ends to dust them lightly. I've then mounted the Sergent couplers and On3 rubber brake hose and that's pretty much done. Next time something very different is in the pipeline. See ya'


dimanche 7 janvier 2018

Building a fleet-Part 4 1/2

Continuing the wheathering process...


At a slow pace, really! Just some chipping with acrylic colors as seen in photo 1 (except the one at left used for the roof) , and some rust streaks with Mars red oil color.


No dilution for the oil, just straight from the tube and drawn down the side with a 2/0 brush. Next step the wheathering washes. See ya'